Making dollhouse miniatures
Now when I say that painting is definitely my passion, it doesn't mean that other things don't tickle my fancy too. I have, ever since being a little girl, loved dollhouses and miniatures. I collected Barbie as an adult and only recently stopped (super expensive hobby lol).
Anyway I am attempting to have two YouTube channels, one for my painting and one for my dollhouse things (girlish squeal). So without further adieu here are the glam shots of my dollhouse wedding cake!
She certainly is a wedding cake for a rich doll lol. I have a YouTube tutorial on how to make this, https://www.youtube.com/watch?v=mV7Fhiorhoc
If you just want some quick instructions without a video then read on.
Firstly you need to make the three different sized bases from scrap clay, I wouldn't waste important clay for this part unless you are going to have a piece cut out.
Once you have these nice and rounded and the size you want, carefully (and when I say carefully I mean cleanly, oh so cleanly) roll out some white clay, which will become the fondant and cover all three of the cakes. I made my middle tier a marbled pink and white fondant. I just added a small amount of pink clay to the white and then mixed it a little and rolled it out.
Once it is flat cover the cakes with it, like you see them do on tv when they're making cakes. Start from the top and smooth it down.
Once you are happy, bake according to your clays instructions.
Now roll out a snake of white clay and flatten it to look like this.
Make about fifteen of these shapes in the white clay, and if you made a marbled clay, roll some out in that too.
Then beginning from the top of the cake, add some bake and bond, and place the rolled out snake pieces above around the clay.
Once you have covered them all, bake them again. This is how you want them to look.
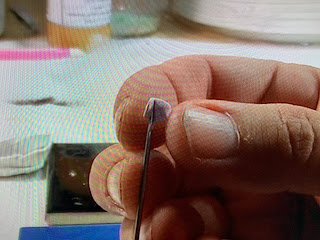
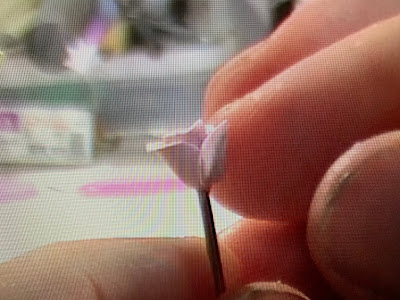
Now for the roses, it is probably easier to watch the video I made, but I shall give the explanation a go. Take a small piece of clay and flatten it to make a smallish roundish shape.
Wrap i t around the dotting tool to begin the small rose. Then just keep making small squashed circles and adding it to the rose in different spots. They should look like this. Make some roses in red clay, white clay and the marbled pink clay. Make about 15 roses.Put the roses on some polyester fluff that you stuff pillows with, and bake. Putting them on the fluff stops the roses from getting squashed on one side.
Next make some leaves: grab the green clay and make a small circle, the squash it to make a leaf shape and bake these as well. Roll out three small snakes of brown clay and use bake and bond to attach these to the three wedding cake tiers as below. Bake the cakes and the brown sticks.

Now it is time to attach the roses and the leaves to the brown sticks and the cake bases. Use bake and bond, and as you are adding the roses make sure the cakes still fit together. Put some leaves in between the roses to break up the colour and then bake these again.
Next and final bake is to glue the cake bases together, so use bake and bond and glue them all together and bake.
Once it is dry use gloss varnish to paint over the roses.
I am making some macarons this weeks, miniature of course, so I can't wait to show you them.
Please follow me on facebook........... KristinaObrienart
I am also on Instagram.......... https://www.instagram.com/kristina_obrien_art/
Aaaand Pinterest....... https://www.pinterest.com.au/krystalrose316/pins/
And now Youtube.......https://www.youtube.com/channel/UCpgFuUdFo0dyREOhcSgXBrw
https://www.youtube.com/channel/UCH3A1kucfLNDkO84CesdNIw?view_as=subscriber
I also have an Art with an Aussie Facebook group: https://www.facebook.com/Art-with-an-Aussie-YouTube-Tutorials-2835141183194204/
Have a great week everyone.
Love
Me! Kristina


